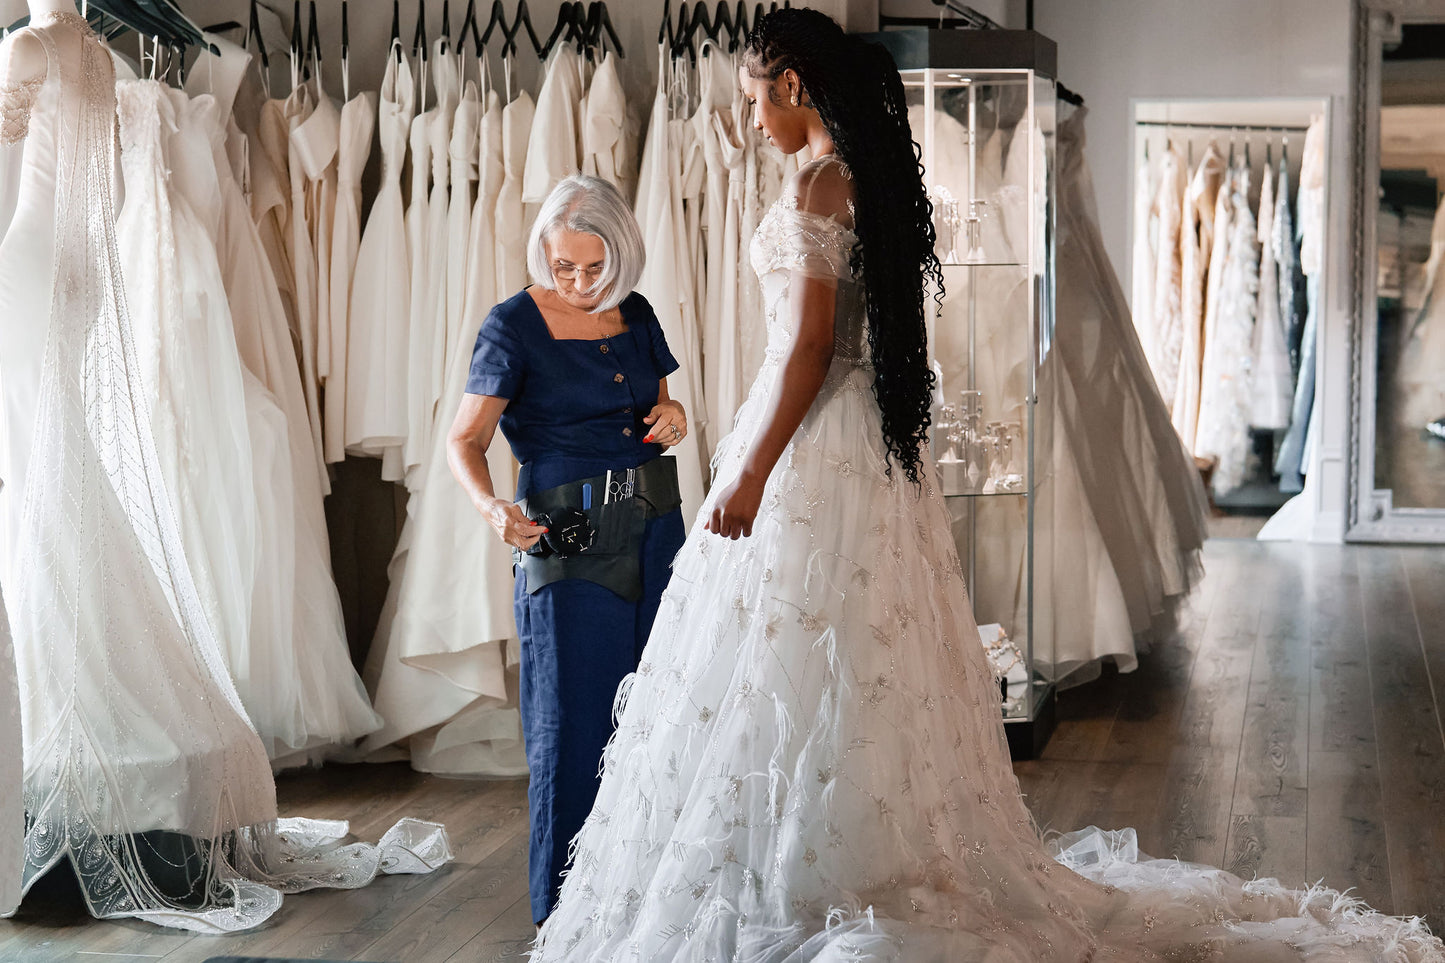
In the realm of bridal couture, the journey from a luxurious gown to a personalized masterpiece involves meticulous alterations that includes a harmonious blend of skill and precision. Each pinning session, adjustment and stitch is a symphony of precision and expertise, transforming a silhouette into a bespoke creation tailored to the bride's unique vision.
During the first fitting, the client tries on the gown and the seamstress assesses the necessary alterations. Following this analysis, the seamstress outlines the scope of adjustments and the alteration process to the client before proceeding to pin the dress, allowing the client to visualize and approve the proposed adjustments.
Each gown is approached section by section, commencing with the bodice and hip area and progressing downwards to the hem. Beginning with the bodice and hip area is crucial, as alterations made there can significantly impact the hemline of the gown.
The final stage in altering the silhouette is marking the hem on the client once the alterations around the bodice, hip and any other necessary adjustments are complete. Based on my experience, I've realized the significance of using a mannequin to chalk mark the hem. Initially, you chalk-mark the hem according to the pinned position on the client, also taking into consideration the hem width. Utilizing this chalk mark as a guide, you cut the hem while the dress is on the mannequin.
Gowns with lace and/or beading that need alterations first require removal from the specific areas requiring adjustments. After the adjustments are completed the gown is put on a mannequin, and any necessary reapplication of lace are pinned while on the mannequin. Subsequently, the gown is taken off the mannequin and positioned on the work table to hand-stitch the lace and add the beads.
